A Modern Solution to
an Ancient Problem
Over the past two decades, the cultural heritage sphere has witnessed a transformative integration of 3D printing capabilities. This method stands out as an appealing choice, offering the advantages of cost reduction, waste minimization, and accelerated production times. Nevertheless, this ongoing project underscores the importance of judiciously justifying the application of this technology, as not every application aligns with the intricate processes involved in replicating parts using this technique.
Background
This ongoing treatment concerns two objects: a pair of Peruvian (Quinoan) candelabra made of low-fire ceramic with painted decoration.
Quinoa Ceramics are produced in the Quinoa Town, in the district of the Province of Huamanga, located in the Ayacucho Valley in central Peru. They generally use earth colors like brown, white, red, and ochre.
Today, Quinoa has 6,200 inhabitants and almost the 80% of the population works in ceramics, Tourism and gastronomy. Most of the local population in Quinoa speaks in the native language called “quechua”. The name of Quinoa comes from the quechua term “Qenwa”, the common name of a native plant that grows there.
Map of the Ayacucho Valley in central Peru (from Dean Arnold’s article “Design structure and community organization in Quinua, Peru” from book Structure and Cognition in Art (New Directions in Archaeology), ed. Dorothy Washburn, 2011).
Peruvian Quinua zoomorphic redware pottery vase, Ripley Auctions, 2017 (Indianapolis, IN). Image: https://www.invaluable.com.
Besides the missing bandmate, each candelabra faced its own condition issues. Years of breaks followed by and amateur restoration campaigns, with adhesives including hot glue and shellac. I assessed each connection for reversibility (either mechanically or using solvents) and moved forward with disassembling the joins I could so that I could rejoin the piece with more accuracy and alignment.
Cleaning and Disassembly
These ceramics can be used for decoration or as functional objects such as plates, pots, and pitchers. The size of the ceramics varies depending on their purpose. Decorative ceramics are usually small and placed on roofs, while some are large sculptures representing everyday life scenes.
The Quinoan style of ceramics is usually passed down from father to son. Each family has their own unique approach when it comes to aesthetics, which is well-known to the local community. These artistic creations are a blend of modern art and traditional cultural expressions, mostly depicting churches and sometimes include animals, religious scenes, local creatures, zoomorphic representations, and everyday life scenes.
Top row (left): a plastic poultice wrapped around one band member, used as a solvent chamber when disassembling the band members. Top row (right): The detached head of one of the band members showing aged adhesive from a previous restoration. Bottom: Partial view of the disassembled candelabra “Band 2”.
Solubility tests were performed in several areas to determine the stability of the painted decorations, which are friable and prone to loss by abrasion and contact with water.
Next, a swab wetted with acetone was tried and was found to dislodge less paint. Ethanol was found to have no virtually effect on the paint, leading to the conclusion that less polar solvents are able to be used on the painted surfaces.
Areas of tenacious aged adhesive were softened using warm agar gel, applied with a spatula and left to sit for ~10 minutes.
Above: Lifting a layer of agar gel from the neck of one of the band members to remove adhesive from a previous restoration.
Assessing Condition
Click to elarge.
The 3D Printing Process
Rationale
Considering the asymmetry caused by the missing band member when viewing the two objects together, I decided that recreating the missing figure would be a justified step in my treatment. Fortunately, the missing band member on Band 2 was intact on Band 1 and could be used as a reference for the eventual replacement.
The replacement figure could have been modeled using a polymer clay or epoxy putty, but this approach relied too heavily on the conservator’s hand and could have easily resulted in an unharmonious presentation after treatment.
Another option would have been to make a mold of the intact figure, but the use of polyurethane rubbers proved an impractical option, as the surface decoration was easily removed and hygroscopic clay body would have been stained by any moisture it came in contact with.
The least invasive approach, and the one which provided the greatest opportunity for learning, was to scan the intact band member on Band 1 and 3D print an intermediary to cast in plaster and finally attach to Band 2, which needn’t be touched in the process.
Scanning by Photogrammetry
The process of creating a replica band member began with the use of 3D scanning technology. Today, there are several scanning apps which use a smartphone’s camera system to create a 3D model of a given subject using photogrammetry. Photogrammetry captures precise measurements from overlapping photos, transforming them into 3D models. It is commonly used with smartphones due to their ability to take multiple pictures and merge them. While affordable, photogrammetry lacks the accuracy required for critical business applications.
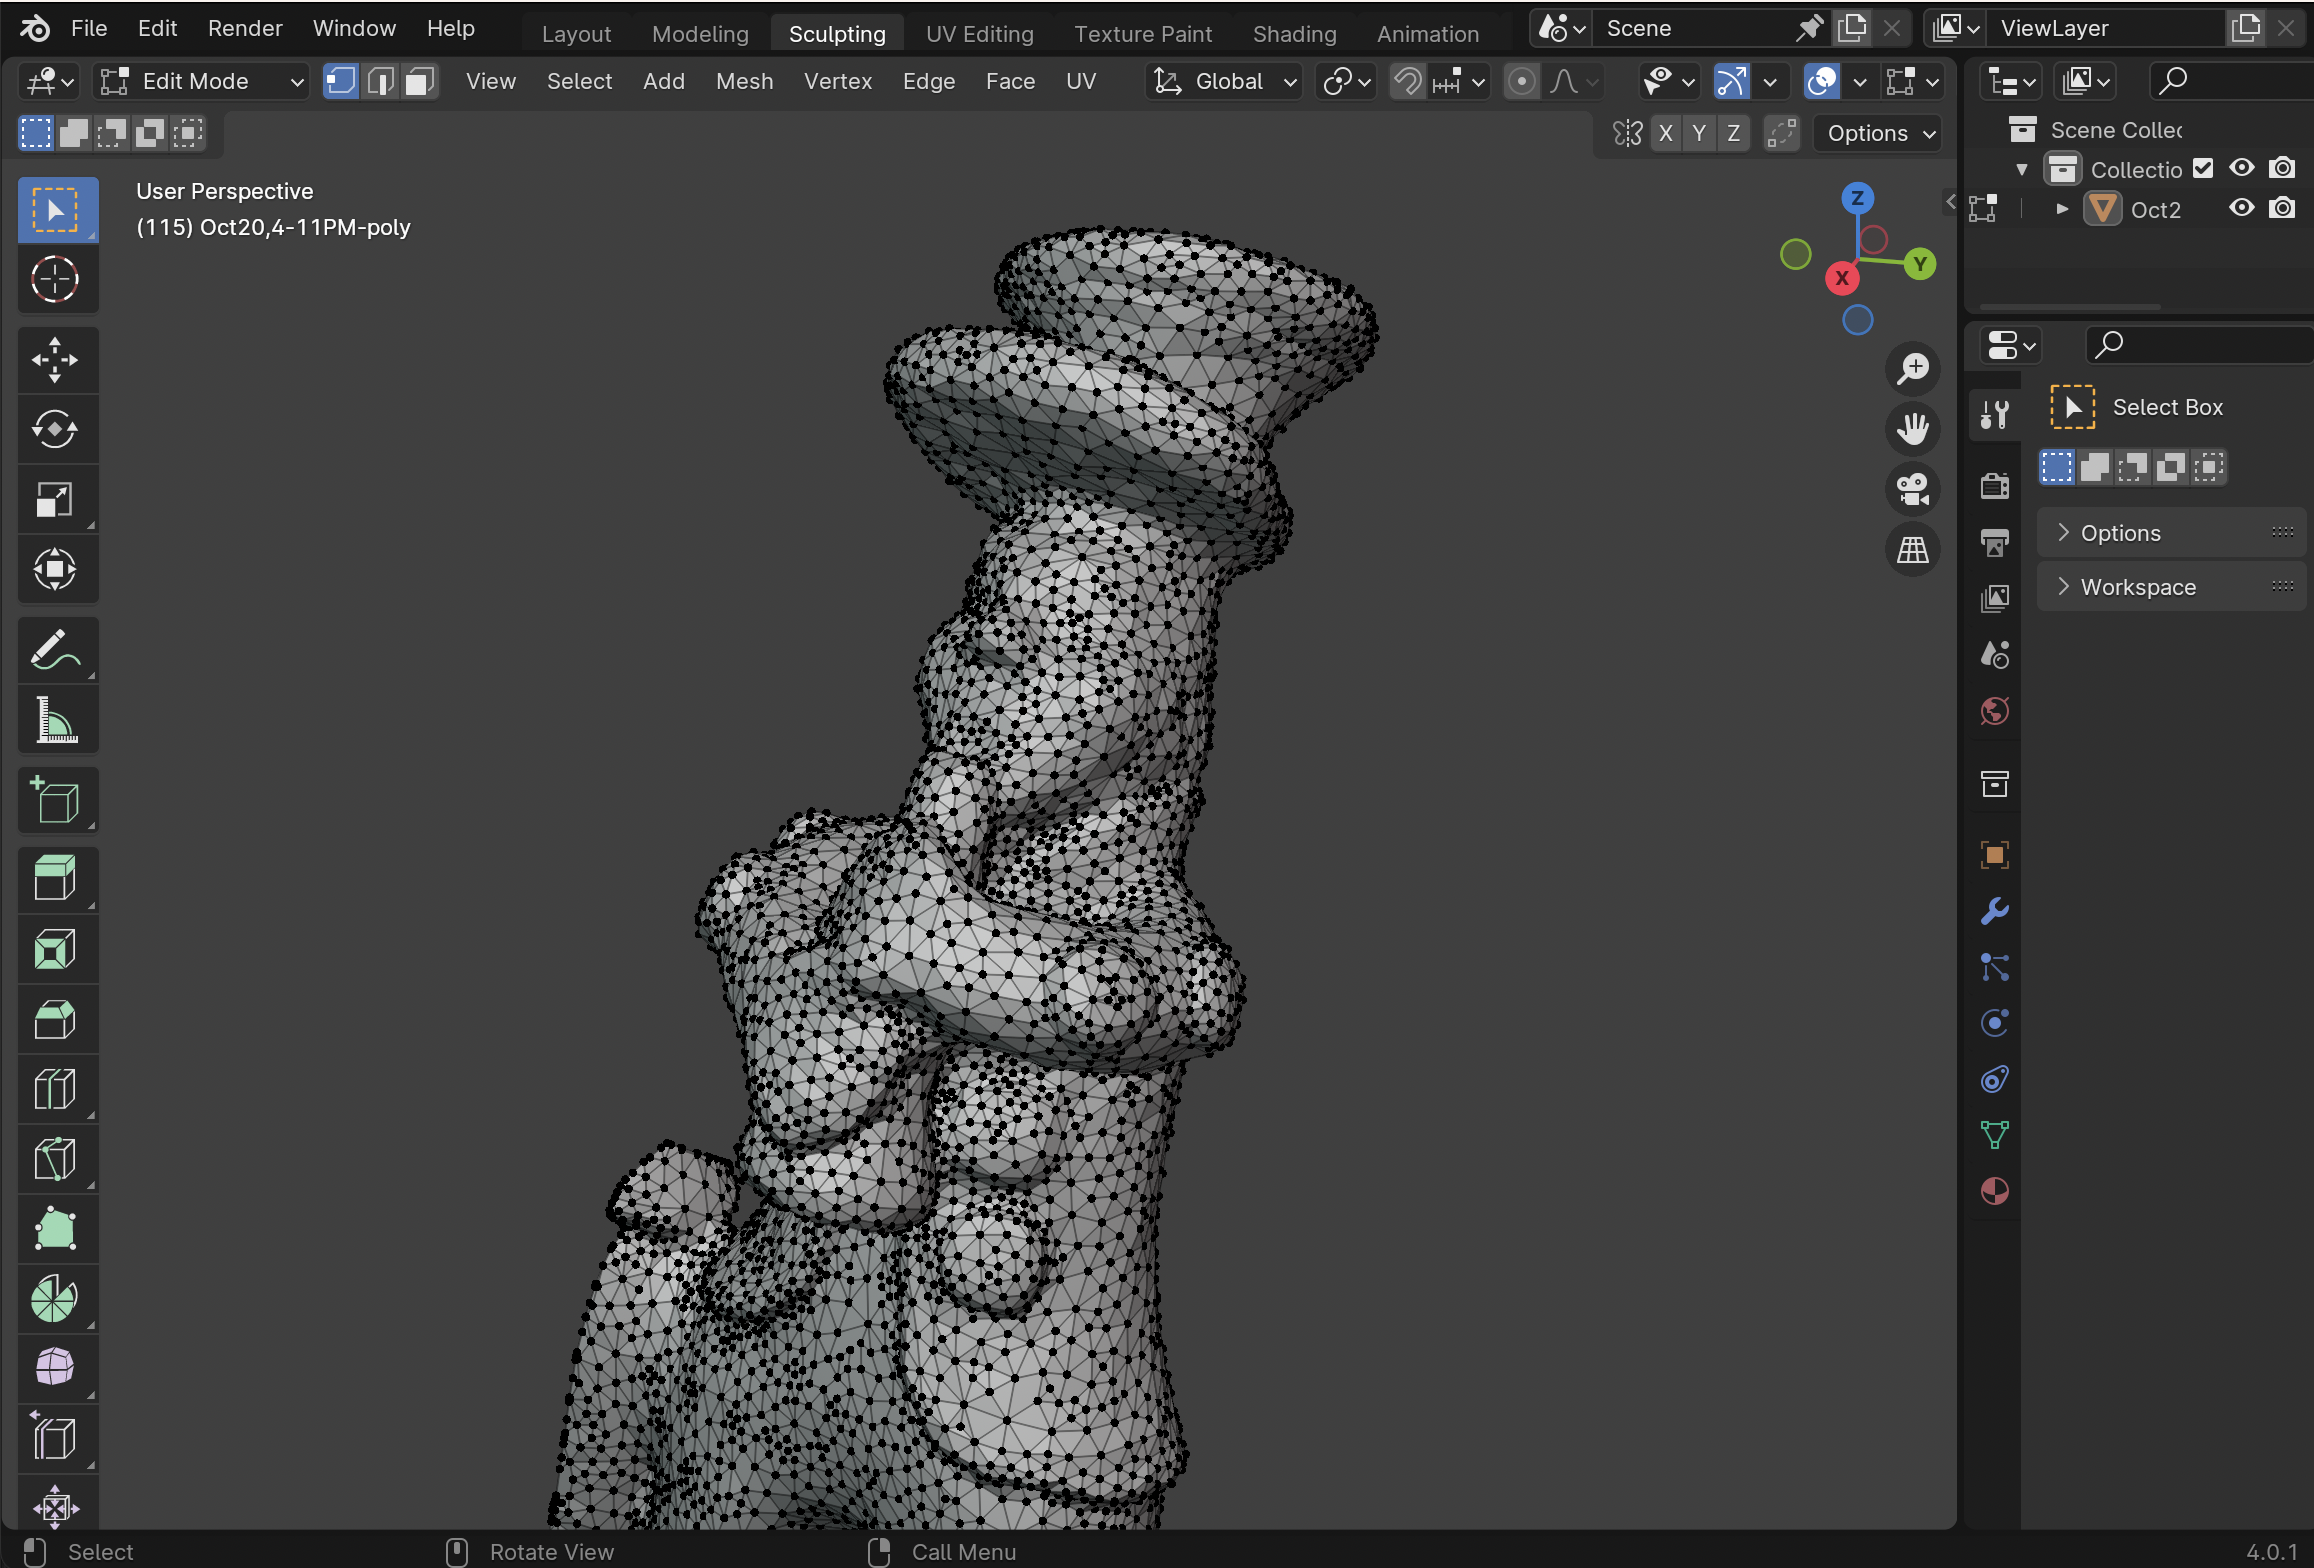
Above: The islolated band mate in Blender CAD software.
3D Printing
Finally, the prepared file was loaded onto one of the many 3D printers available to the consumer market. I printed my model using an Ultimaker S3 3D printer, which prints files using fused deposition modeling (FDM), a commonly used 3D printing technology that works by melting and extruding thermoplastic filament layer by layer to build up a three-dimensional object. The material, a bio-based polymer called PLA (polylactic acid), was heated by the machine to 200 degrees Celsius and the two halves were slowly built layer by layer until their final form was created. The bottom half of the figure was composed of 1,037 layers, while the top half was made of 847 layers of extruded polymer.
Top: The two halves of the intermediary figure, printed from PLA (polylactic acid) polymer using an Ultimaker S3 3D Printer.
The stratigraphic layers of the 3D print must be thoughtfully sanded away to achieve a smooth and uniform surface while retaining the handmade nature of the original.
Next Steps
With a plaster cast of the replacement figure made, I will soon begin the process of sanding and filling the plaster surface, as the stratigraphic nature of the 3D printing process is still visible. I look forward to uniting it with its new bandmates and starting the inpainting process.
This ongoing project has been an education in weighing treatment options in consideration of original surface, as making a mold of the intact band member would have been impossible without permanently damaging the painted surface. Even with a steep learning curve, employing 3D printing technology proved to be the least invasive treatment route available.
Top: Ultimaker S3 3D Printer (image: www.printyourmind3d.ca/products/ultimaker-s5-3d-printer); Below, left: The top half of the new figure after printing and still on the print table, with the typical “scaffolding” created by the 3D printer still in place. Below, right: The “scaffolding” being removed to expose the surface of the top half of the intermediary figure.
Above (left): The 3D printed 1:1 scale intermediary.
Above (right): The plaster cast of the 3D printed intermediary.
Above: The 3D photogrammetry scan of the 4-member band. The far right
(proper left) figure was isolated for printing.
File Preparation
After scanning a 3D object, irrelevant geometry and data points need to be deleted. The .OBJ file is brought into a 3D visualization and editing software (I used Blender, a free and open-source product). The 3 band members not needed for replication were deleted, leaving only the band member to be 3D printed. Finally, the model was made “watertight”, a term used to describe a single, entirely closed volume that would hold water if filled.